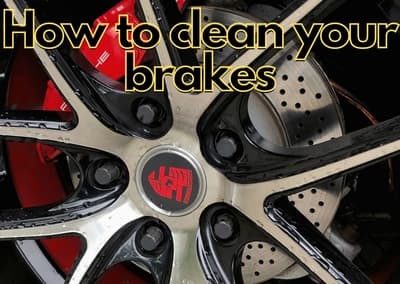
How to clean your brakes
With the UK being in lockdown, now is the perfect time to give your car some much needed TLC. In this article, we are going to give you a step-by-step guide to brake cleaning. Many cars have alloy wheels and despite generally improving the look of the wheel, this leaves the brake discs and brake calipers in clear view. If you want to get your car 100% spotless, we are going to give you some instructions on how to get the car brakes gleaming and help prevent brake dust.
Why should I clean my brakes?
A lot of people will think that because the brakes are placed behind the wheel alloys, as long as the exterior parts of the car are clean then why bother with cleaning the car brakes too? As well as the brakes looking visually clean, there are also other benefits. Over time the brakes accumulate dust and dirt that can impair the braking performance. Cleaning your brakes once a year can not only improve the performance of the brakes but even extend their life.
Related: Car Brakes
How to clean your brakes
Step 1: Jack the car up with an axle stand
The first step is to park your car on even ground. Once this is done you will need to jack the car up to be able to take the wheels off. Make sure that you have an axle stand to support the car whilst it has been jacked up. If you do not have an axle stand, axle stands can be purchased for a relatively low price.
Step 2: Remove the wheels
You will now need to take the wheels off with a locking wheel nut key to remove the locking wheel nuts. If you are not sure what a wheel locking nut key is, and why is it important, make sure that you check out the related article below which focuses on the importance of the car locking wheel nut. Once the wheel locking nuts have been removed, you will be able to remove the wheel.
Related: Wheel locking nut key
Step 3: Remove the brake calipers
In order to get the brake disc fully exposed to be cleaned, you will have to remove the brake calipers. This can be done by removing the car brake caliper bolts. Sometimes the brake calipers can be quite stubborn and won’t come off. You can remove them by sliding them up and then off- you may need to make a few attempts at this. Once the brake calipers are removed, put them in a safe place to avoid any damage to them.
Related: Painting brake calipers
Step 4: Remove the brake disc and supply the brake cleaning fluid
Now the brake disc is exposed, you will now need to remove this. This can be done by removing the bolts. Once the disc brake is removed, you will need to use some brake cleaning fluid and give it a thorough clean with a rag. While the brake discs are off the car, you may want to inspect the brake disc for any signs of damage. Obvious signs of damage are usually where the brake discs have become pitted.
Step 5: Reassemble the wheel
If you are happy with the condition of the brake disc, then reassemble it along with the brake calipers and repeat this process for the remaining disc brakes on the remaining three wheels. If you are wanting to also clean the brake calipers, then this can also be done along with the brake cleaning fluid and the rag, as explained previously during the brake disc cleaning process.
If you are concerned about the performance of your brakes, or if you feel that your brakes are building up an influx of brake dust, or brake rust may be appearing, then you can get booked in for a brake check at your local National Tyres and Autocare branch.
Related: Check my brakes
Did you enjoy this blog post? |
12 people found this review helpful


 Sign up for SPECIAL OFFERS